
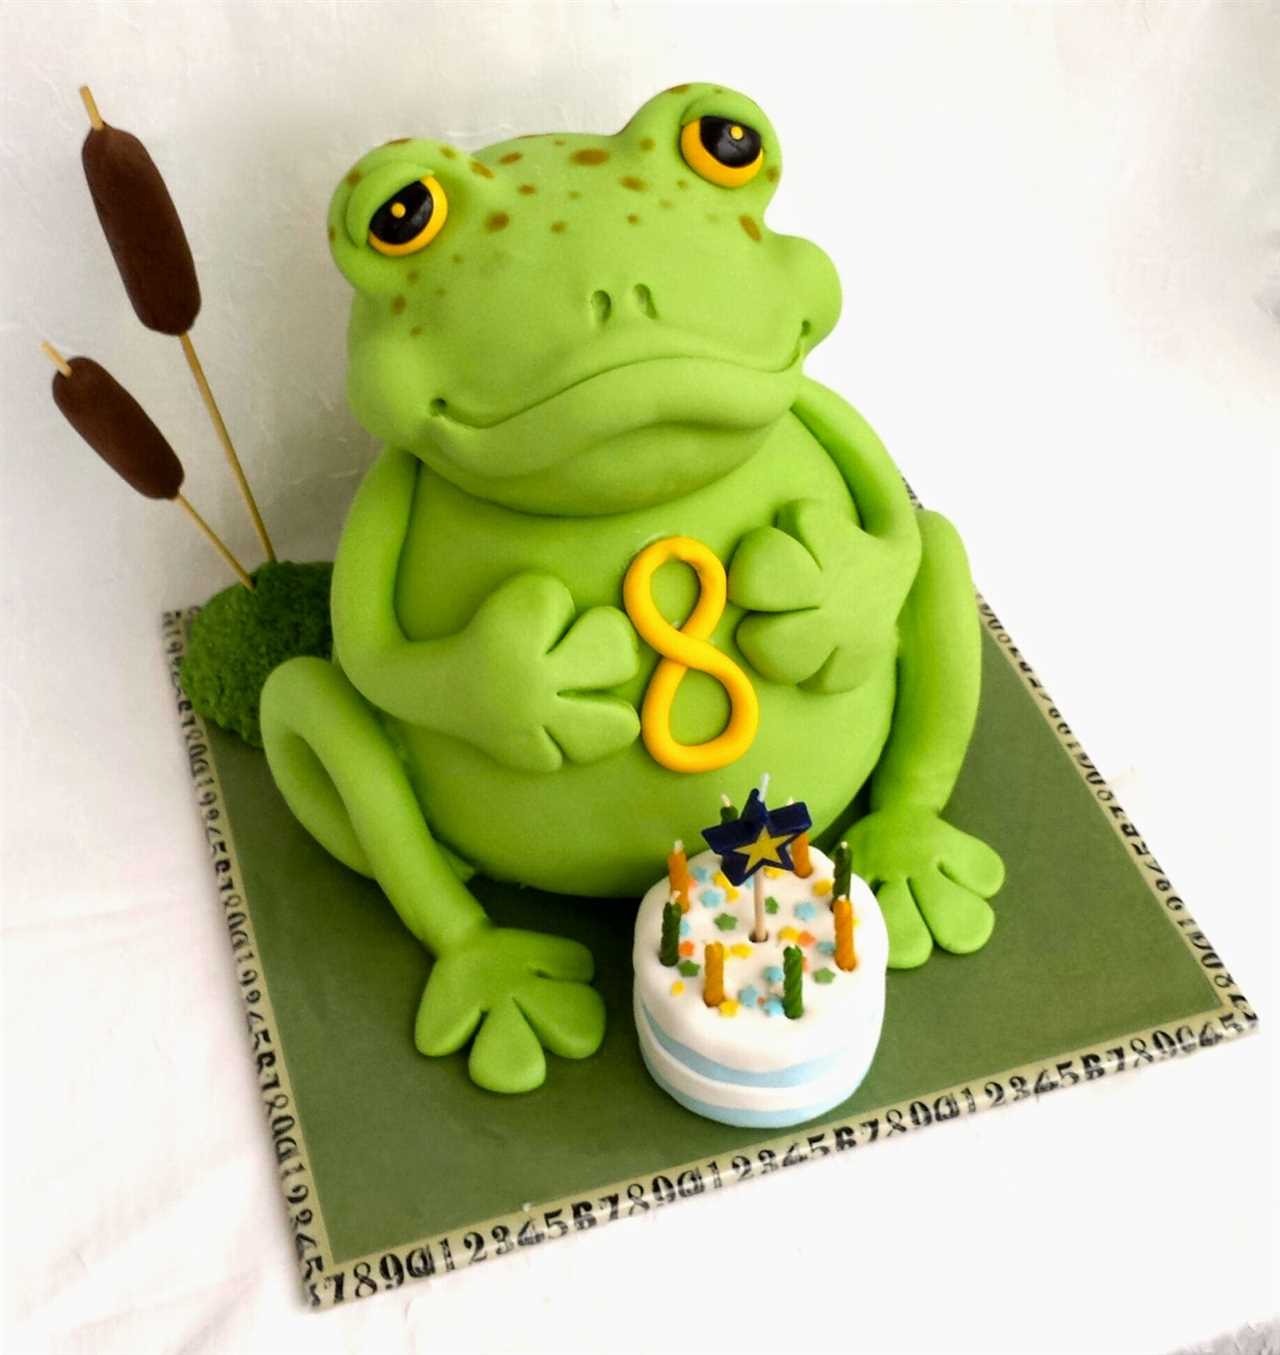
Do you want to learn how to make a delicious and adorable frog cake? Look no further! This simple and fun recipe will guide you through the process step by step, so you can create a masterpiece in no time.
Making a frog cake may seem complicated, but to your surprise, it’s actually quite easy. All you need is a few basic ingredients and some creativity to bring this fun dessert to life. Whether you are throwing a themed party or just want to indulge your sweet tooth, this recipe is sure to impress.
First, let’s gather the ingredients. You will need a boxed cake mix, green food coloring, icing, and various candies for decorating. Once you have everything ready, you can start by preparing and baking the cake according to the instructions on the box. While the cake is cooling, you can prepare the icing by adding a few drops of green food coloring for that froggy touch.
Gather Ingredients for Frog Cake Recipe
Dry Ingredients:
- 2 cups all-purpose flour
- 1 1/2 cups granulated sugar
- 1/4 cup cocoa powder
- 1 1/2 teaspoons baking powder
- 1/2 teaspoon baking soda
- 1/2 teaspoon salt
Wet Ingredients:
- 1 cup milk
- 1/2 cup vegetable oil
- 2 large eggs
- 1 teaspoon vanilla extract
- Green food coloring
Frosting and Decorations:
- 3 cups powdered sugar
- 1/2 cup unsalted butter, softened
- 2 tablespoons milk
- 1 teaspoon vanilla extract
- Green food coloring
- Chocolate chips or candy eyes
- Black decorating gel or icing
Make sure to check your cupboard and grocery list to ensure you have all the ingredients before you start making the frog cake. Once you have everything ready, you can move on to the next step and prepare the batter. Enjoy the process and have fun making your very own frog cake!
Step 3: Prepare the Frog Cake Batter
Once you have gathered all the necessary ingredients, it’s time to start making the batter for the frog cake. Making the cake batter is an essential step in creating a delicious and moist cake.
Here is a step-by-step guide on how to prepare the frog cake batter:
1. Measure the Ingredients
Begin by measuring all the ingredients required for the cake batter. You will need flour, sugar, eggs, butter, baking powder, vanilla extract, and milk.
2. Combine Dry Ingredients
In a large mixing bowl, combine the flour, sugar, and baking powder. Stir the dry ingredients together until they are well mixed.
3. Add Wet Ingredients
In a separate bowl, whisk together the eggs, melted butter, vanilla extract, and milk. Make sure all the wet ingredients are thoroughly combined.
4. Mix the Batter
Pour the wet ingredients into the bowl with the dry ingredients. Use an electric mixer or a whisk to mix the batter until it becomes smooth and well combined.
5. Adjust the Consistency
If the batter seems too thick, you can add a little more milk to achieve the desired consistency. Mix it well until the batter has a smooth and pourable texture.
6. Flavor Variation
If you want to add a twist to your frog cake, you can experiment with different flavors. Consider adding a teaspoon of lemon zest or a tablespoon of cocoa powder to the batter for a tangy or chocolaty taste, respectively.
Now that the frog cake batter is ready, you can move on to the next step of baking the cake. Remember to follow the remaining steps in the article to create a beautifully decorated frog cake that will delight your family and friends!
How to Bake the Frog Cake
Once you have prepared the frog cake batter, it’s time to bake it and bring your delicious creation to life. Follow these simple steps to ensure a perfectly baked frog cake:
Step 1: Preheat the Oven
Before you start baking, preheat your oven to the specified temperature mentioned in the recipe. This will ensure that your frog cake bakes evenly and turns out moist and fluffy.
Step 2: Prepare the Cake Pans
Grease your cake pans with butter or cooking spray to prevent the cake from sticking to the pans. You can also line the pans with parchment paper for extra insurance.
Step 3: Pour the Batter
Take the prepared frog cake batter and divide it equally between the prepared cake pans. Use a rubber spatula to spread the batter evenly and smooth the surface.
Step 4: Bake the Cake
Place the filled cake pans in the preheated oven and set the timer according to the recipe instructions. Avoid opening the oven door while the cake is baking, as this can cause the cake to sink. Bake the cake until it’s golden brown and a toothpick inserted into the center comes out clean.
Step 5: Cool and Remove from Pans
Once the cake is done baking, remove it from the oven and let it cool in the pans for a few minutes. Once cooled slightly, transfer the cakes to a wire rack to cool completely before frosting and assembling.
Step 6: Level the Cakes
If your cake has domed tops, level them by using a serrated knife or a cake leveler. This will ensure that your final frog cake has even layers and a more professional appearance.
Step 7: Follow the Recipe Instructions
Now that you have your baked and cooled cake layers, follow the rest of the recipe instructions to proceed with assembling, frosting, and decorating your frog cake. Get creative and have fun turning your cake into an adorable frog masterpiece!
Remember, baking a frog cake is all about patience and attention to detail. Take your time, follow the recipe, and enjoy the process of creating a unique and delicious dessert.
Step 5: Cut and Assemble the Frog Cake Layers
Once the frog cake has cooled completely, it’s time to cut and assemble the layers. Using a sharp knife, carefully slice the cake horizontally into two equal layers. Take your time and make sure the cuts are even.
Next, spread a layer of your favorite filling on the bottom cake layer. This could be anything from chocolate ganache, to strawberry jam, or even a vanilla buttercream. Be generous with the filling, as it will add moisture and flavor to the cake.
Place the top cake layer on top of the filling, lining up the edges as best as you can. Press down gently to secure the layers together.
Once the layers are assembled, you can trim any excess cake from the edges to create a clean and even shape. This step is optional, but it will give your frog cake a polished finished look.
At this point, your cake should be looking like a stacked layer cake with a flat top. If desired, you can also create a small well in the center of the top layer to give the appearance of a frog’s head.
Now that your cake layers are assembled, it’s time to move on to the next step: making the green frosting for the frog cake.
How to Make Green Frosting for Frog Cake
One of the most important steps in creating a delicious and visually appealing frog cake is making the green frosting. The green color is essential to give the cake its frog-like appearance.
Here is a simple and easy recipe for making green frosting:
- Start by gathering the following ingredients:
- 2 cups of powdered sugar
- 1/2 cup of unsalted butter, softened
- 1 teaspoon of vanilla extract
- 1 tablespoon of milk
- Green food coloring
- In a mixing bowl, combine the powdered sugar and softened butter. Use an electric mixer to beat them together until well blended and creamy.
- Add the vanilla extract and milk to the mixture. Continue to beat on medium speed until the frosting reaches a smooth and fluffy consistency.
- To achieve the desired green color, add a few drops of green food coloring to the frosting. Start with a small amount and gradually add more until you achieve the shade of green you desire. Mix well to distribute the color evenly.
- Once the frosting is ready, you can use it to frost the frog cake. Start by applying a thin layer of frosting on the top and sides of the cake to create a crumb coat. This will help seal in any crumbs and provide a smooth surface for the final layer of frosting.
- After the crumb coat has set, apply a thicker layer of frosting to cover the entire cake. Use a spatula or a frosting knife to spread the frosting evenly and create a smooth finish.
- If you want to add texture to the frog cake, you can use a fork or a toothpick to create lines or scales on the frosting, imitating the skin of a frog.
- For additional decorations, you can use fondant or icing to create frog features such as eyes, a mouth, or even feet.
- Once the frosting and decorations are done, let the cake set for a while to allow the frosting to firm up. This will make it easier to slice and serve.
- When ready to serve, cut the frog cake into slices and enjoy the delicious and fun creation!
Remember, making a frog cake is all about having fun and being creative. Feel free to experiment with different shapes, colors, and decorations to make your frog cake truly unique!
How to Frost and Decorate the Frog Cake
Once your frog cake layers have cooled, it’s time to frost and decorate them. This step is where you can get creative and turn your cake into a cute and adorable frog.
Ingredients for Green Frosting:
- 1 cup unsalted butter, softened
- 4 cups powdered sugar
- 1 teaspoon vanilla extract
- Green food coloring
To create the green frosting for your frog cake, start by creaming the softened butter in a mixing bowl until it becomes smooth and fluffy. Gradually add the powdered sugar and continue mixing until well combined. Add the vanilla extract and a few drops of green food coloring, adjusting the amount to achieve your desired shade of green.
Once the frosting is mixed and colored, it’s time to frost the cake. Take one of the cake layers and place it on a serving plate or cake stand. Using a spatula, spread a generous layer of green frosting evenly over the top of the cake layer. Make sure to cover the entire surface and reach the edges.
Next, carefully place the second cake layer on top of the frosted layer. Press down gently to secure it in place. Repeat the frosting process on the second layer, covering the top and sides of the cake with the green frosting. Smooth out the frosting as you go, using the spatula to create a clean and even surface.
Once the cake is fully frosted, you can start decorating it to resemble a frog. You can use additional green frosting to create the frog’s body and limbs. Pipe or spread the frosting onto the cake to form the desired shapes and textures. You can also use fondant or candy to add additional details like eyes and a mouth.
For the eyes, you can use round candies, such as M&M’s or small marshmallows, or you can shape fondant into small circles and add a smaller dot of black frosting or candy for the pupils. Place the eyes near the top of the cake, leaving space for the mouth below.
For the mouth, you can use a small strip of red fondant or red fruit leather to create a smiling or tongue-sticking-out expression. Shape the fondant or fruit leather and attach it to the cake using a small amount of frosting as an adhesive.
Once you have finished decorating the cake, step back and admire your cute and tasty frog creation. The green frosting and creative decorations will bring your frog cake to life, making it a fun and delightful dessert for any occasion.
How to Make Frog Cake Eyes and Mouth
One of the most important steps in creating a frog cake is adding the eyes and mouth to give it that distinct frog-like appearance. This step not only adds character to the cake but also enhances its overall visual appeal.
Gathering the Ingredients
Before you begin creating the eyes and mouth, gather the following ingredients:
- White fondant
- Black fondant (or dark chocolate)
- Red fondant (or red icing or gel)
- Small round cutter
- Small sharp knife or pizza cutter
- Edible glue or water
- Food-safe paintbrush
- Cornstarch or powdered sugar (for dusting)
Creating the Frog Eyes
- Start by rolling out some white fondant on a clean surface lightly dusted with cornstarch or powdered sugar. Roll it out to a thickness of about 1/4 inch.
- Using a small round cutter, cut out two circles from the white fondant. These will be the frog’s eyes.
- Take a small amount of black fondant or dark chocolate and roll it into two tiny balls. These will be the pupils of the frog’s eyes.
- Attach the black fondant balls or dark chocolate onto the white fondant circles using edible glue or water. Place them slightly towards the top and center of each circle.
Shaping the Frog Mouth

- To create the frog’s mouth, take a small amount of red fondant or red icing and shape it into an oval or mouth-like form.
- Using a small sharp knife or a pizza cutter, carefully carve out a smile shape on the red fondant, leaving two rectangular gaps on the top corners to resemble the frog’s teeth.
- Attach the red fondant mouth onto the frosted cake using edible glue or water. Place it around the lower center of the cake, making sure it aligns with the frog’s eyes.
Once you have completed the steps above, you will have successfully created the eyes and mouth for your frog cake. These playful details are what make the cake truly resemble a frog and will surely delight your guests. Now, you can proceed with adding the final touches and decorations to complete your frog cake masterpiece!
Add Final Touches to the Frog Cake
After you have frosted and decorated the frog cake, it’s time to add the final touches to make it look even more realistic. Here are a few ideas:
1. Create Texture: Use a fork or toothpick to create texture on the body of the frog cake. This will give it a more realistic look, resembling the rough texture of a frog’s skin.
2. Add Details: Use colored frosting or edible markers to add details to the frog cake. You can draw spots or stripes on the body, or add lines to the limbs to make them look more like frog legs.
4. Add a Smile: Using frosting or black edible markers, draw a smile on the face of the frog cake. This will give it a friendly and inviting look.
5. Accentuate the Mouth: To make the mouth of the frog cake stand out, use a small knife or toothpick to carefully carve a mouth shape in the frosting. You can also add a bit of red gel or frosting to make the inside of the mouth look moist.
6. Decorate the Base: If desired, you can decorate the base of the frog cake with green frosting, candy flowers, or edible grass to create a natural environment for the frog.
7. Serve with Style: Once you are satisfied with the final touches on the frog cake, carefully transfer it to a serving plate or cake stand. You can place it on a bed of green frosting to continue the frog theme. Serve the frog cake with a smile and watch as everyone enjoys the delicious and fun creation.
With these final touches, your frog cake will be ready to impress and delight your family and friends. Enjoy the process of bringing this cute and unique dessert to life!
Serve and Enjoy the Delicious Frog Cake
After all the hard work, it’s time to finally serve and enjoy the delicious frog cake you have made. Follow these steps to make the most of your frog cake:
Step 1: Presentation
Place the frog cake on a beautiful serving platter or cake stand. This will make it look even more enticing and appetizing. Make sure to choose a platter or stand that complements the green color of the cake.
Step 2: Slicing
Using a sharp knife, carefully slice the frog cake into individual servings. Make sure each slice includes a portion of the frog’s head and body. The slices should be about an inch thick.
Step 3: Plating
Place each slice of the frog cake onto a dessert plate or serving dish. You can add a dollop of whipped cream or a scoop of vanilla ice cream on the side for an extra touch of indulgence.
Step 4: Garnish
Add some extra garnish to each slice of frog cake to enhance its appearance and flavor. You can sprinkle some green sugar crystals or grated chocolate on top of each slice. Another option is to place a fresh mint leaf or a strawberry slice on the side of the plate for a pop of color.
Step 5: Enjoyment
Invite your friends and family to gather around the table and savor the delightful frog cake together. The unique design and delicious taste will surely impress everyone. Don’t forget to enjoy a slice yourself and relish in the fruits of your labor.
By following these steps, you will know exactly how to serve and enjoy the delicious frog cake you have made. It’s a fun and whimsical dessert that will bring a smile to everyone’s face.
| Tips | Variations |
|---|---|
|
|
Tips and Variations for Making a Frog Cake
1. Get Creative with Fillings
While this recipe calls for a basic cake batter, feel free to experiment with different fillings to add more flavor to your frog cake. Consider using a lemon or strawberry filling for a refreshing twist, or include some crushed cookies or nuts for added texture.
2. Add a Surprise Center
If you want to make your frog cake even more exciting, consider adding a surprise center. You can insert a layer of flavored cream or filling in the middle of the cake, or even hide a small toy or candy inside. This unexpected element will surely surprise your guests!
3. Decorate with Edible Flowers
To enhance the visual appeal of your frog cake, consider decorating it with edible flowers. Edible flowers not only add a pop of color but also give your cake a fresh and natural look. Choose flowers that are safe for consumption, such as violets, pansies, or marigolds.
4. Experiment with Frosting Techniques
Instead of simply spreading the green frosting on the cake, you can try using different frosting techniques to create texture and depth. Use a star-tip nozzle to pipe small stars all over the cake’s surface for a textured effect, or try using a fork to create a scale-like pattern.
5. Use Fondant for Detailing
If you want to take your frog cake to the next level, consider using fondant to add intricate details. You can shape fondant into frog legs, lily pads, or even a small crown for a playful touch. Fondant allows you to get creative and add personalized touches to your frog cake.
6. Personalize with Writing or Messages
If you are making a frog cake for a special occasion or celebration, consider personalizing it by writing a message or name on the cake. You can use piping gel or edible markers to write directly on the cake or create a fondant plaque with the message.
7. Make Mini Frog Cakes
If you prefer individual portions or want to make a fun dessert for a kids’ party, you can adapt this frog cake recipe to make mini frog cakes. Simply divide the batter into smaller cake pans or use a cupcake pan and decorate each individual cake as a cute little frog.
8. Embrace Different Shades of Green
While the traditional frog cake is green, you can play with different shades of green to make your cake more visually interesting. Use lighter and darker shades of green frosting to create depth and dimension or add edible coloring to achieve unique hues.
9. Serve with a Frog-Themed Beverage
To complete the frog-themed experience, consider serving your frog cake with a fun and refreshing frog-themed beverage. You can create a green, lime-flavored punch or mocktail and garnish it with a frog-shaped straw or a slice of lime.
With these tips and variations, you can make your frog cake truly stand out and impress your guests. Whether you are making the cake for a special occasion or simply to satisfy a craving for something sweet, have fun with the process and let your creativity guide you. The result will be a delicious and visually stunning frog cake that everyone will remember!

I’m Lena Adams—a product of an unconventional upbringing in the African wilderness. My father, a daring explorer of African wildlife, sparked my fascination with reptiles, a passion that intertwined with the tragic loss of my mother during an expedition, leaving an indelible mark on my life. Driven to understand the creatures that captivated my parents, I embarked on my journey, sharing insights about reptiles, frogs, and lizards on my website. Through my explorations and conservation efforts, I honour my family’s legacy while seeking connections—to the creatures, nature, and the mother whose presence I yearn to understand.