

Step 2: Catch a live frog. Make sure to choose a frog that is healthy and of a suitable size. Place the frog on a clean surface and secure it gently but firmly.
Step 3: Using a sharp knife, carefully make a small incision in the skin of the frog, starting from the belly and continuing up to the throat. Take your time and be gentle to avoid causing any harm to the internal organs.
Step 4: Once you have made the incision, use your fingers to gently loosen the skin from the muscles underneath. Be careful not to tear the skin or damage the muscles in the process.
Step 5: Use the tweezers to carefully pull and remove the skin from the frog’s body. Start from the incision and work your way towards the legs and head. Take your time and be patient, as this step requires precision and delicate handling.
Step 6: Rinse the frog’s skin thoroughly in the bowl of clean water to remove any remaining blood or debris. Gently pat the skin dry with a clean towel.
Step 7: Congratulations! You have successfully skinned a frog. You can now use the frog’s skin for various purposes, such as scientific research, art projects, or even as a culinary ingredient in some cultures.
Importance of Frog Skinning
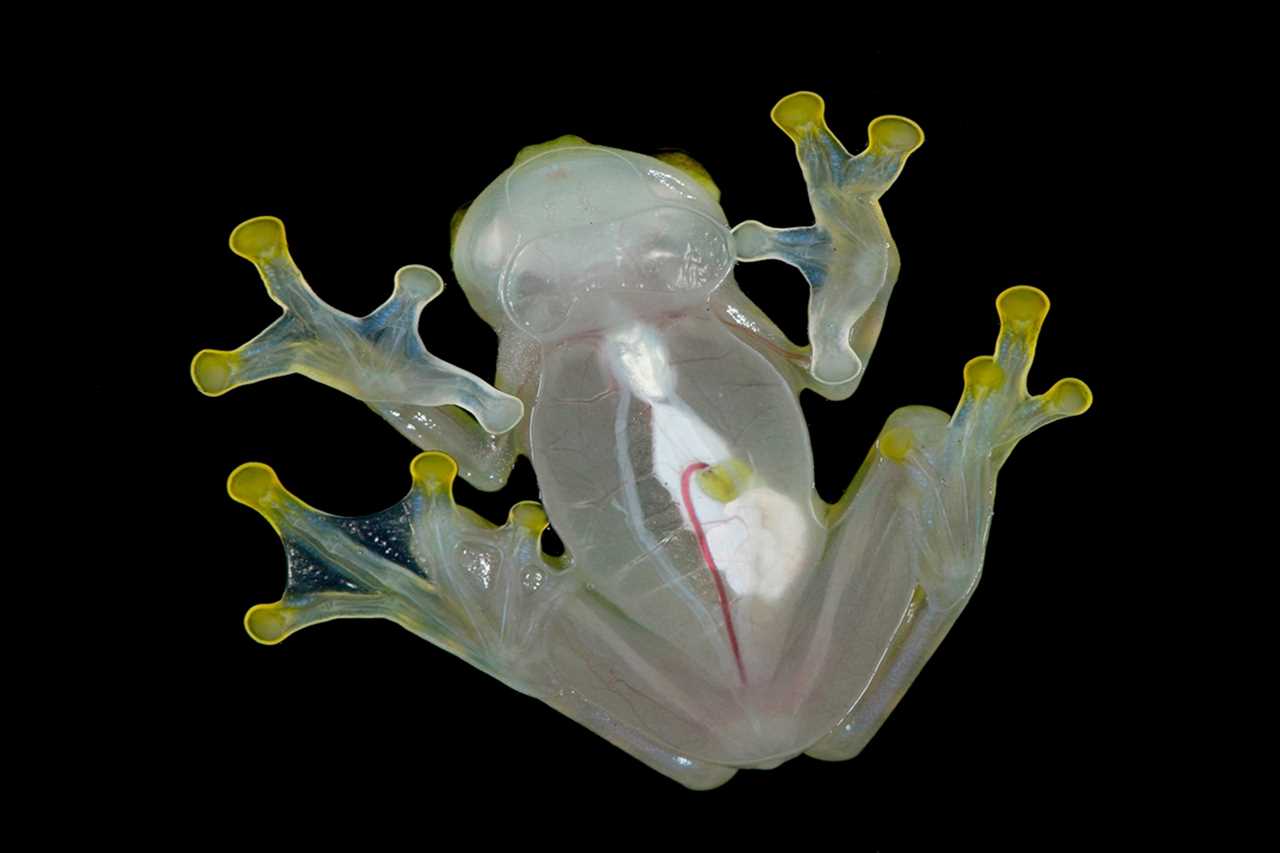
Skinning a frog may seem like an odd and unusual practice to some, but it holds great importance in various areas. This article will delve into the significance of frog skinning and why it is necessary in certain situations.
Scientific Research
Education and Anatomy
| Benefits of Frog Skinning | Why is it Important? |
|---|---|
| Advancing scientific research | Allows for the study of frog biology and potential medical breakthroughs |
| Enhancing educational experiences | Enables students to learn about anatomy and the inner workings of the frog’s body |
| Promoting conservation efforts | Helps researchers understand frog populations and develop conservation strategies |
| Preserving frog skins | Allows for the creation of unique and valuable specimens for display or research purposes |
Conservation Efforts
Skinned frog specimens can provide valuable insights into frog populations and their habitats. By studying the skin, researchers can learn about the environmental factors affecting frog health and population dynamics. This knowledge can contribute to the development of effective conservation strategies to protect frog species that may be at risk.
Preservation of Frog Skins
Another reason why frog skinning is important is for the preservation of frog skins as specimens. Skinned frog skins can be treated and preserved, resulting in unique and valuable objects for display in natural history museums, educational institutions, or private collections. These preserved skins can serve as a rich source of information for future research or as visual aids to enhance educational experiences.
Gathering the Necessary Tools for Skinning a Frog
The following tools are essential for skinning a frog:
- Scalpel or sharp knife: A sharp blade is needed to make clean and precise incisions in the frog’s skin.
- Forceps: These are used to hold and manipulate the frog’s skin during the skinning process.
- Scissors: Scissors come in handy for trimming excess skin and making precise cuts.
- Dissection tray: A tray or a flat surface is needed to work on while you skin the frog.
- Protective gloves: Wearing gloves will protect your hands from any potential contaminants or irritants.
- Preservation solution: This solution is necessary to preserve the skin after it has been removed from the frog.
Having all these tools ready and within reach will ensure a smooth skinning process and make it easier for you to follow the step-by-step guide for skinning a frog.
Step 4: Preparing the Frog
Before you can start skinning the frog, it is essential to properly prepare it. This step will ensure that the skinning process goes smoothly and that you end up with a well-preserved frog skin.
Gather the Necessary Tools
First, gather all the necessary tools for the job. You will need a sharp knife or scalpel, a pair of forceps or tweezers, a cutting board or a flat surface, and rubber gloves to protect your hands.
Anesthetize the Frog

It is essential to anesthetize the frog before starting the skinning process. This will ensure that the frog is not in pain and that the skinning process can be done humanely. There are several ways to anesthetize a frog, such as using a euthanasia solution or placing it in a cold environment for a short period.
Position the Frog
Once the frog is anesthetized, position it on the cutting board or flat surface. Place the frog belly up, with its legs spread apart slightly. This position will make it easier to access and remove the skin.
Make a Small Incision
Using a sharp knife or scalpel, make a small incision on the frog’s belly. Be careful not to cut too deep, as you don’t want to damage any internal organs. The incision should be long enough to allow you to insert your fingers and start separating the skin from the underlying tissues.
Separate the Skin From the Tissues
Once the incision is made, gently insert your fingers or forceps under the skin and start separating it from the underlying muscles and tissues. Be cautious and take your time to avoid tearing the skin. Slowly work your way around the frog, separating the skin from the body until you reach the limbs.
Detach the Skin from the Limbs
Now, focus on detaching the skin from the frog’s limbs. Use your fingers or forceps to carefully separate the skin from the muscles and bones of the limbs. Again, proceed slowly and delicately to ensure the skin remains intact.
Clean the Frog Skin
Once the skin is fully removed from the frog’s body and limbs, gently rinse it under cold water to remove any remaining blood or debris. Use your fingers or forceps to remove any excess tissues or fat from the skin’s inner side.
Preserve the Skin
After cleaning the frog skin, you can choose to preserve it in various ways, such as drying it, tanning it, or using chemicals. Follow the appropriate preserving method to ensure that the frog skin remains in good condition for display or further use.
Wrap Up
Now that you have successfully prepared the frog for skinning, you can move on to the next step. Remember to always handle the frog and its skin with care to preserve its integrity and ensure a successful outcome.
Step 5: How to Remove Frog Skin
Start by placing the frog on a clean surface, belly-side up. Gently hold the frog’s hind legs and carefully make a small incision near the vent. This incision should be made with a sharp knife, ensuring that you do not cut too deeply or damage the underlying flesh.
Next, using your fingers or a pair of forceps, gently separate the skin from the underlying muscle. This should be done slowly and carefully to avoid tearing the skin. As you work your way around the frog, continue separating the skin until it is completely detached.
Once the skin is separated, carefully peel it back, working from the incision towards the head. Be cautious and avoid pulling too hard, as this can cause the skin to tear. If needed, you can use a scalpel or scissors to help loosen any stubborn areas.
After the skin is removed, inspect it for any remaining bits of flesh or fat. Carefully trim these off using a clean scalpel or scissors, ensuring that you do not damage the skin. Once the skin is cleaned, rinse it with cold water to remove any debris or remaining tissue.
At this point, the frog skin can be preserved and used for various purposes, such as scientific study or crafting. To preserve the skin, it should be treated with a preservative solution, such as a formaldehyde-based solution, and then allowed to air dry. This will help prevent decay and ensure that the skin retains its shape.
By following these steps, you can successfully remove the skin of a frog and prepare it for preservation or further use. Remember to always handle the frog and tools with care and to work in a clean and well-ventilated area.
Step 4: Removing the Frog Skin

Once you have made the initial incision, it’s time to carefully remove the frog skin. This step requires precision and patience, as you want to extract the skin without damaging it.
First, use your fingers to gently pry the skin away from the muscle tissue. Take care not to pull too hard, as this can tear the skin. Instead, apply gentle pressure and use small, controlled movements to separate the skin from the underlying tissue.
As you work your way around the frog, continue to pull the skin away until it is completely separated. You can use a pair of small scissors or a scalpel to help loosen the skin if necessary, but be very careful not to cut through the skin.
Once the skin is fully detached, carefully lift it up and away from the frog’s body. You may need to use your fingers or a pair of tweezers to grab onto the skin and pull it away.
Step 5: Cleaning and Preserving the Skin
Cleaning the Frog Skin
Next, prepare a solution of mild soap and water. Use a soft brush or sponge to gently scrub the skin, removing any remaining dirt or debris. Be sure to clean both sides of the skin thoroughly.
Once the skin is clean, rinse it again under running water to ensure that all soap residue is removed. Pat the skin dry with a clean towel, being careful not to stretch or tear it.
Preserving the Frog Skin
After cleaning, you need to preserve the frog skin to prevent decay and damage. Here’s how:
Start by applying a thin layer of borax powder to both sides of the skin. Borax acts as a natural preservative and helps to dry out the skin.
Place the frog skin on a clean surface and allow it to air dry for several hours. Avoid direct sunlight as it can cause fading and damage to the skin.
Once the skin is dry, you can apply a thin coat of a preserving agent, such as glycerin, to keep it soft and supple. Massage the preserving agent into the skin using your fingers, ensuring that all areas are covered.
Finally, store the preserved frog skin in a cool, dry place, preferably in an airtight container or plastic bag. This will help to prevent moisture and insect infestations, which can cause damage to the skin.
Remember, properly cleaning and preserving the frog skin is essential for maintaining its appearance and durability. By following these steps, you can ensure that your frog skin will last for years to come.
The Finishing Touches: Frog Skin Care
After successfully removing the skin from the frog, it’s essential to take the necessary steps to clean and preserve it properly. This ensures that the frog skin stays in good condition and can be used for various purposes, such as scientific research, educational displays, or even crafts.
Cleaning the Frog Skin
After cleaning, rinse the skin thoroughly with clean water to remove any traces of detergent. Again, be gentle during this process to avoid causing any damage.
Preserving the Frog Skin
Preserving the frog skin is crucial to maintain its integrity and prevent decay. There are several methods you can use to preserve the skin:
Drying and Tanning: Another preservation method involves drying and tanning the frog skin. This can be achieved by stretching the skin over a frame and allowing it to air dry. Once dried, the skin can be treated with tanning agents, such as alum or salt, to further preserve it.
Freezing: Freezing the frog skin is also an option for short-term preservation. This method involves placing the cleaned and dried skin in an airtight bag or container and storing it in a freezer. Freezing helps to slow down the decomposition process, allowing the skin to be used at a later time.
By following these steps, you can effectively clean and preserve the frog skin, allowing it to be used for educational or scientific purposes. Remember, the proper care and preservation of frog skins not only ensures their long-lasting beauty but also contributes to the advancement of knowledge about these fascinating creatures.